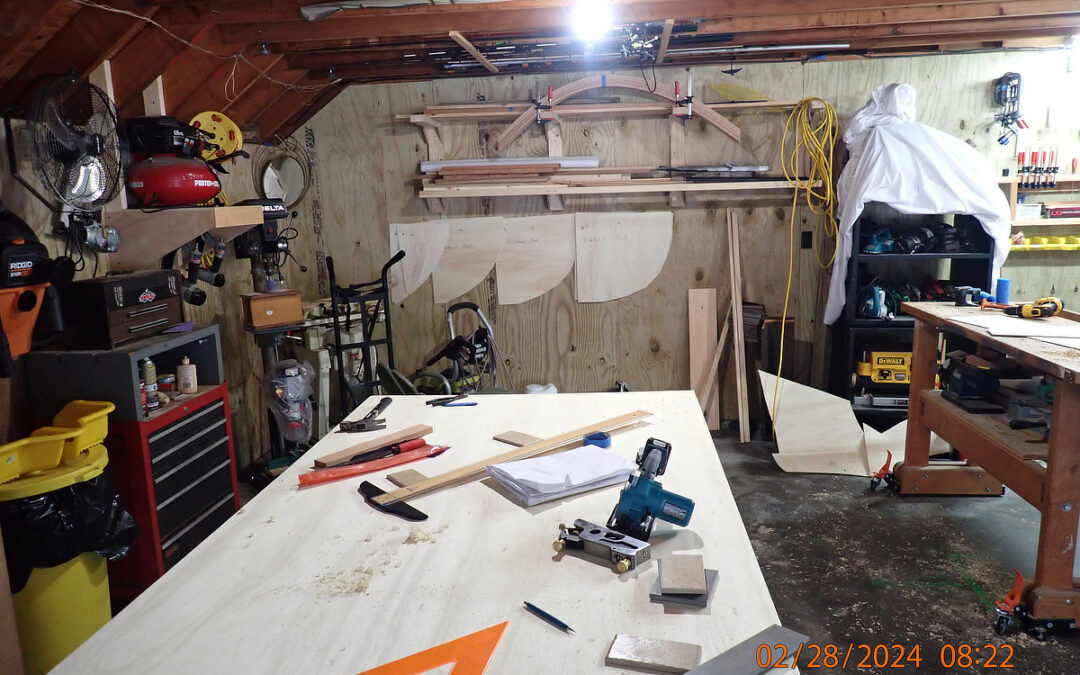
Couple of crazy warm days so in the shop today. We normally don’t hit 45-degrees until late March or so. Not warm enough for epoxying but plenty to do making molds. Molds form the shape of the hull and if done accurately the setting and bending of strakes is “reasonably” straight forward.
General process is;
- Prick through drawings to get shape at each body section
- Cut-out pattern and plane to line
- Attach pattern on actual mold material and route with special pattern bit
- Continue on till all 11 molds done
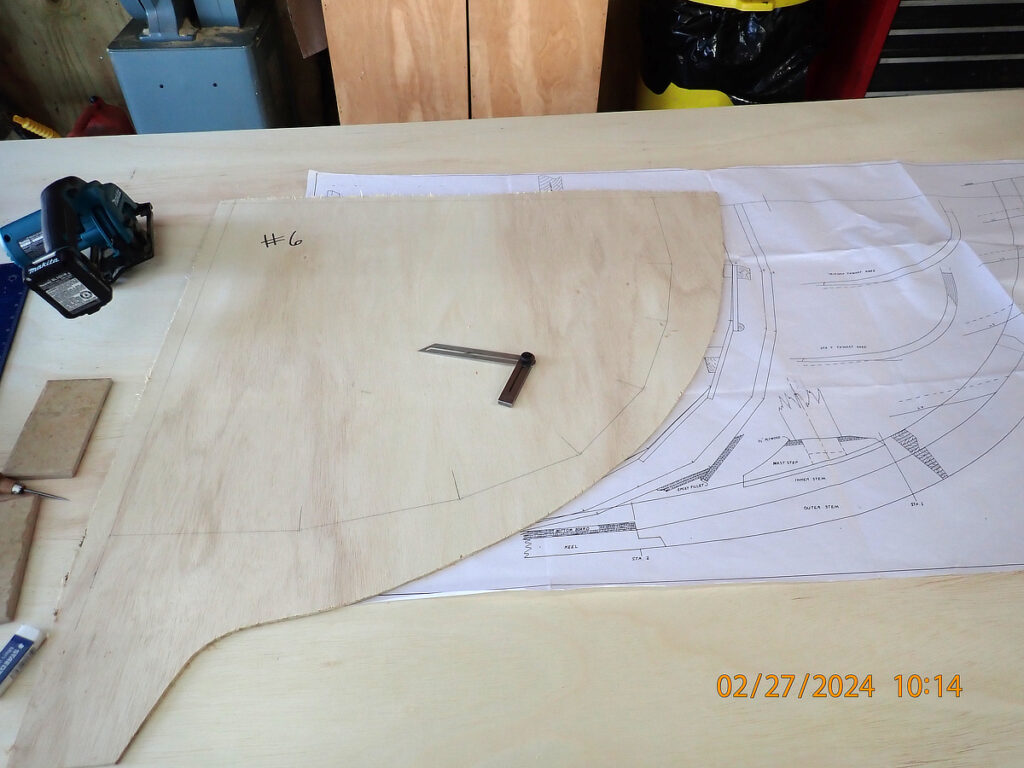
Transfer and Connect the Dots
The pattern material is 1/4″ Home Depot junk plywood – good enough for this task. Since Hylan provided full size cross sections, going to take a chance that they are right (no lofting for this one). I did review online and found no-one complaining about his full-size patterns. Fingers crossed.
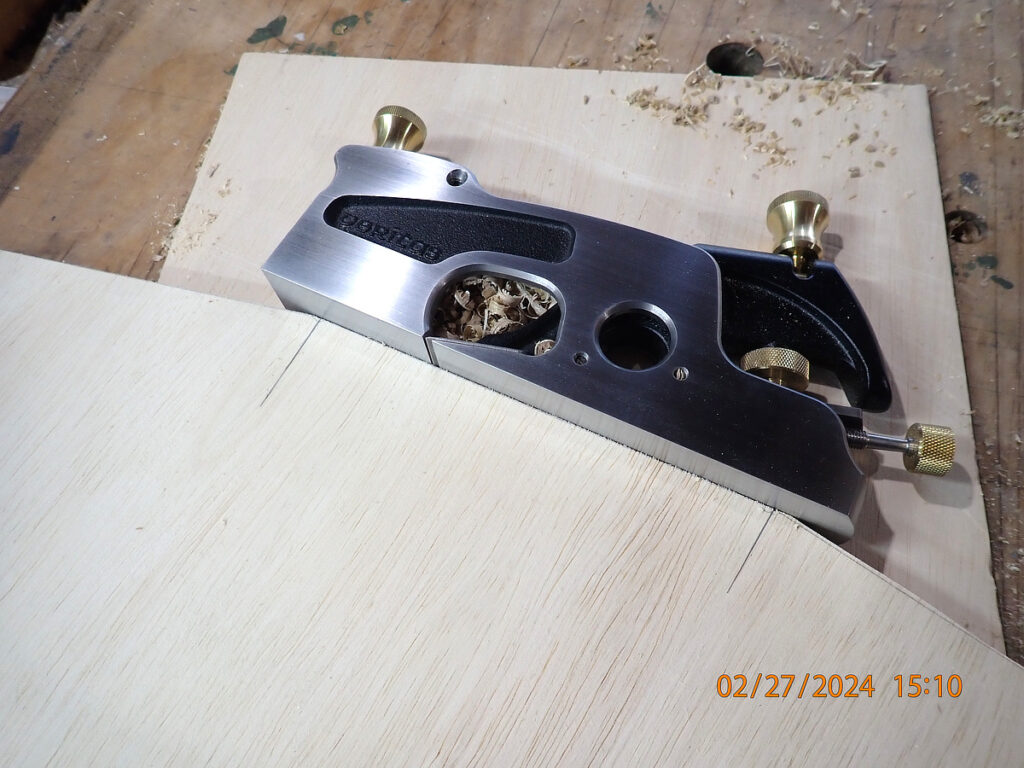
Shoulder Plane in Action
I discovered that a shoulder plane works great to get final trimming to line. Since this is a knuckle sided boat, it’s a straight line between connecting points. If you put a 1/4 shim under pattern, you can use this kind of plane and get perfect templates. Similar to furniture makers using shooting plane for fine tuning joints.
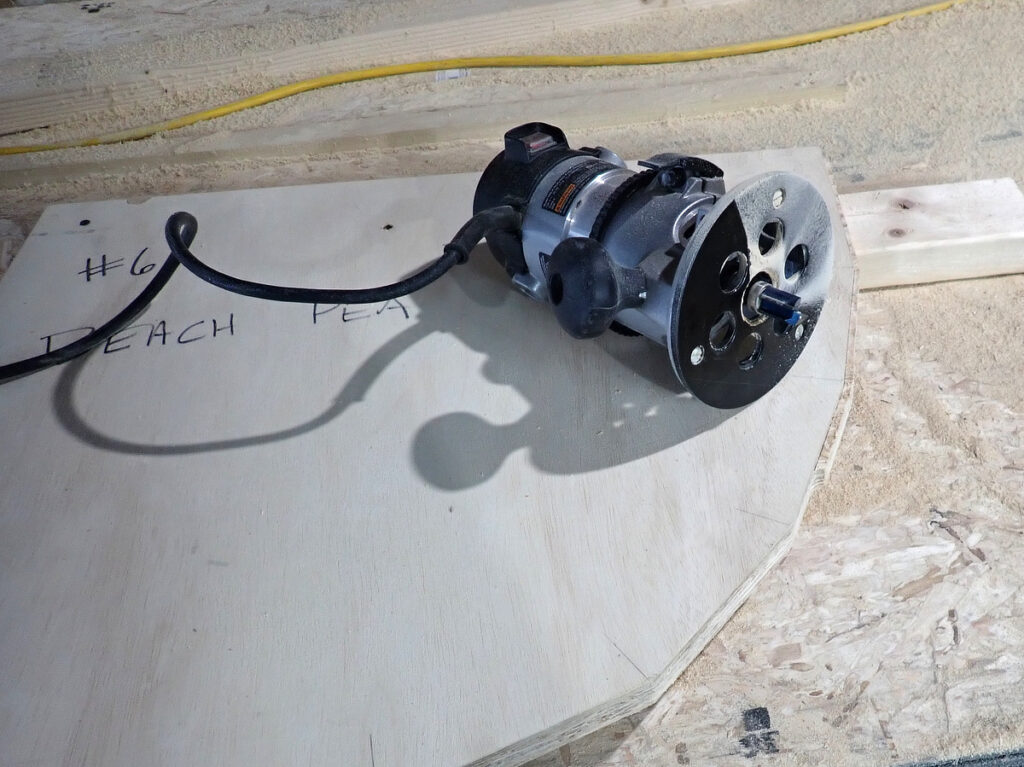
Pattern Routing
This is the way to go for this. If you look closely you can see how the pattern is used as a guide. Arch Davis uses this process on his boats and it definitely produces quality molds/frames. It does take more time, but I now have reusable patterns that are perfectly symmetrical about the center.
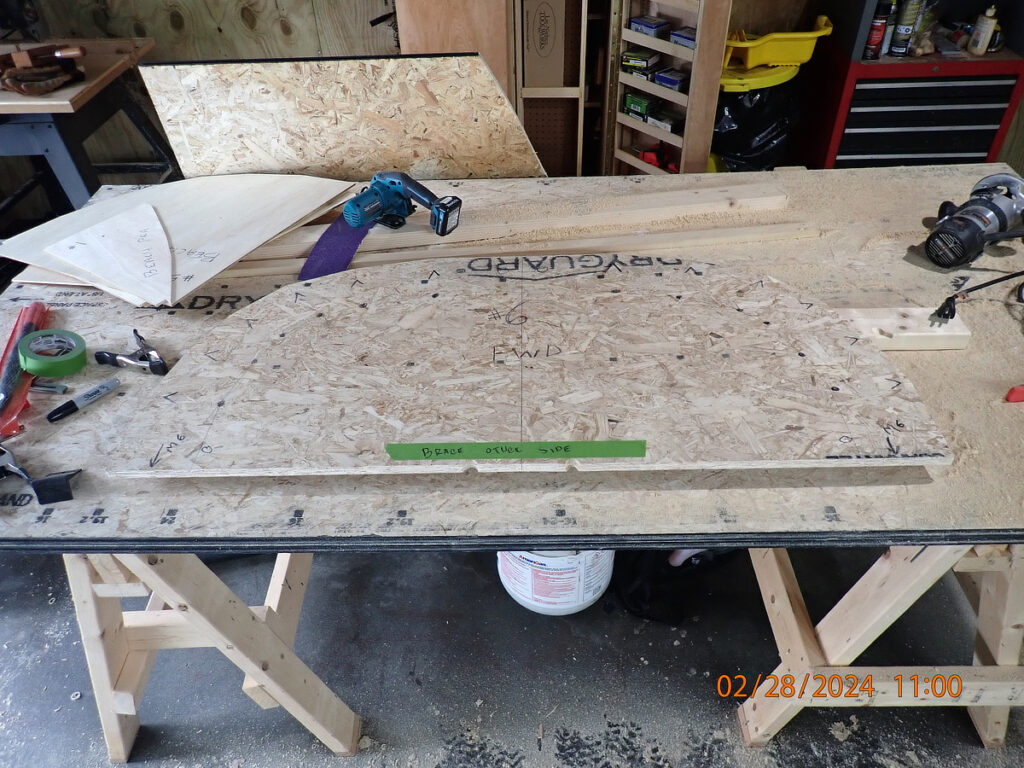
Mold 6 Almost Done
I used the little Makita saw to rough-out the sheet goods – worked pretty good. I’m using waterproof OSB which is incredibly heavy (stays with building jig, doesn’t go on boat). Those V’s point to the plank edges which you need to mark from underneath during construction. We had some challenges in Kerr’s class finding these a couple years ago. Just have to drill a bunch of 2 1/2in holes for clamping and add the cross-frame brace. I think this took me 5 or 6 hours to make 1 mold. Only 10 more to go.

